Seventh week
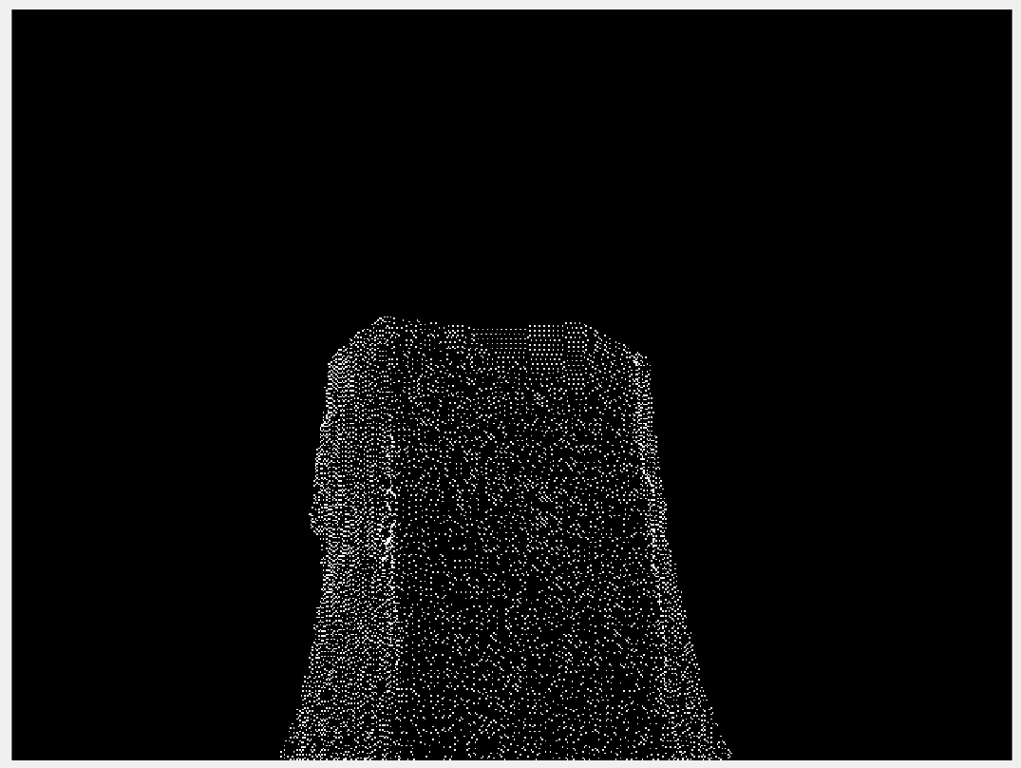

Figure 1- Mesh with 5mm intervals
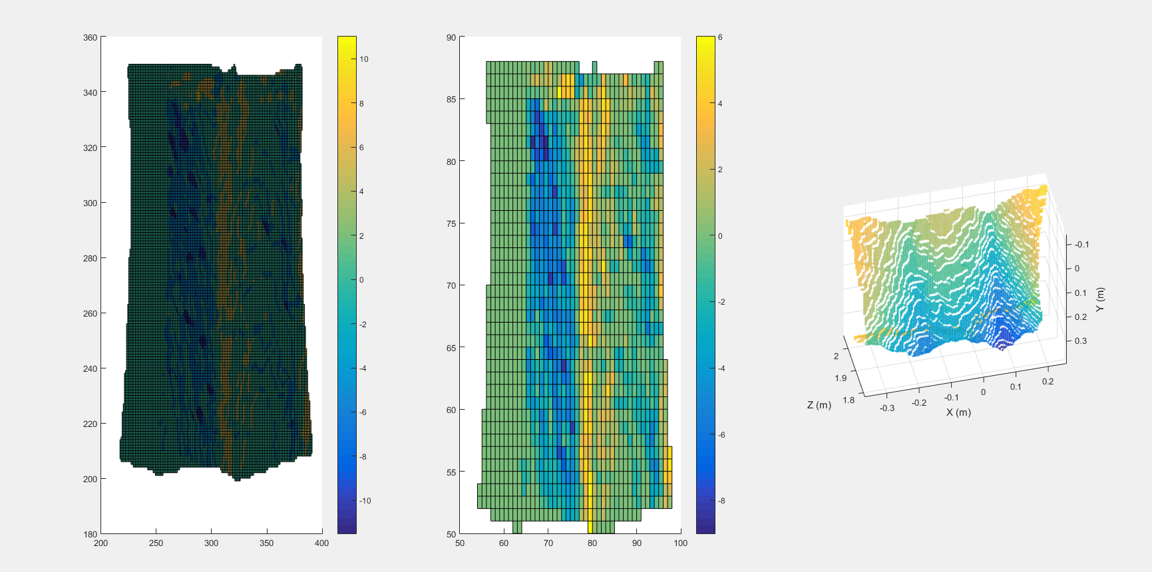
Figure 2 - Division in squares
In figure 2, the gradient from the right object was calculated and the result is the left object, then squares with a stipulated interval were created and the mean gradient in each square was calculated. The result is the middle object.
By using this squares as guide to create the mesh, first a mesh with a certain density was created. This mesh would be to the zone with the highest gradient. Then, from those points, some of then were used in other intervals to create the other meshes densities.
This solution is just for the interior points since the exterior points were calculated the same way as 2D.
By using the delaunay triangulation on those points the result is on figure 3.
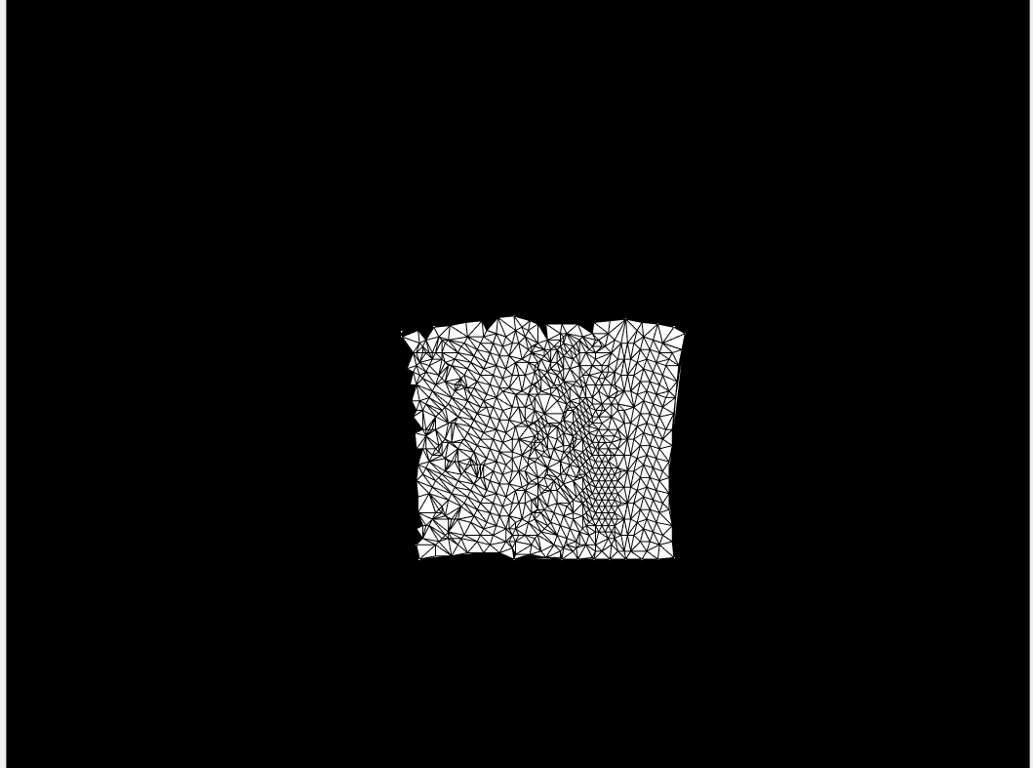
Figure 3 - Mesh for the 3D
This solution does not create a mesh as clean as 2D but the end result is what it was expected. By observing figure 4, it is possible to see that the number of points is higher than the zones with high gradient.
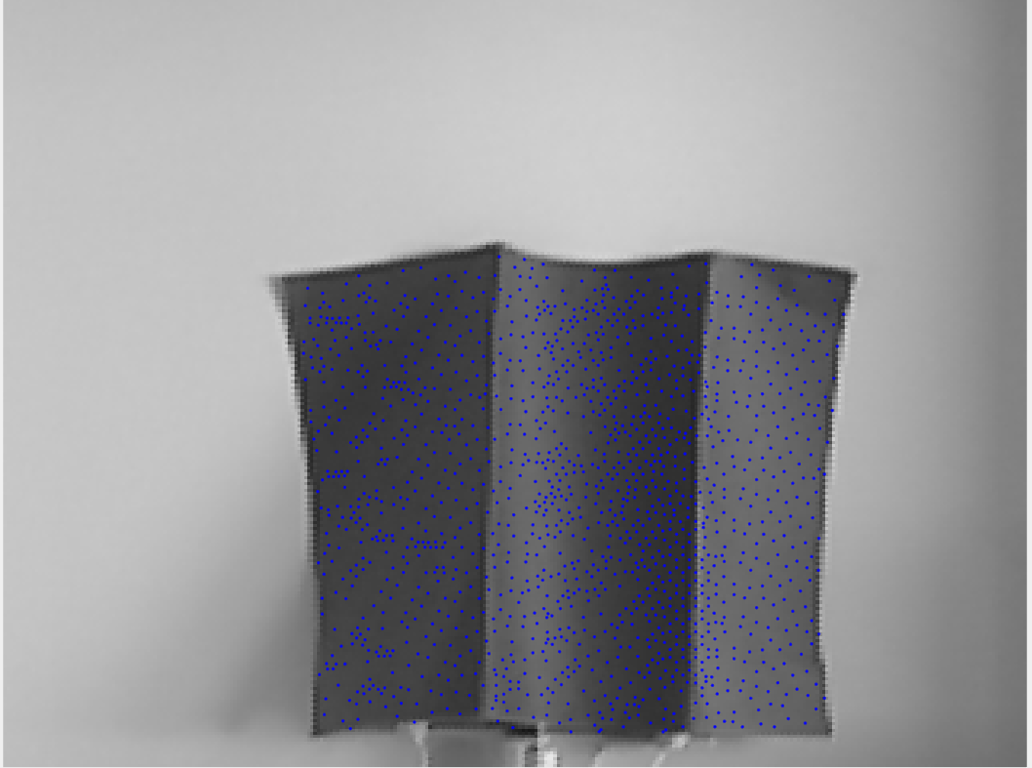
Figure 4 - Result of the process
Another image, closer to the cam allows a better comprehension of the result.
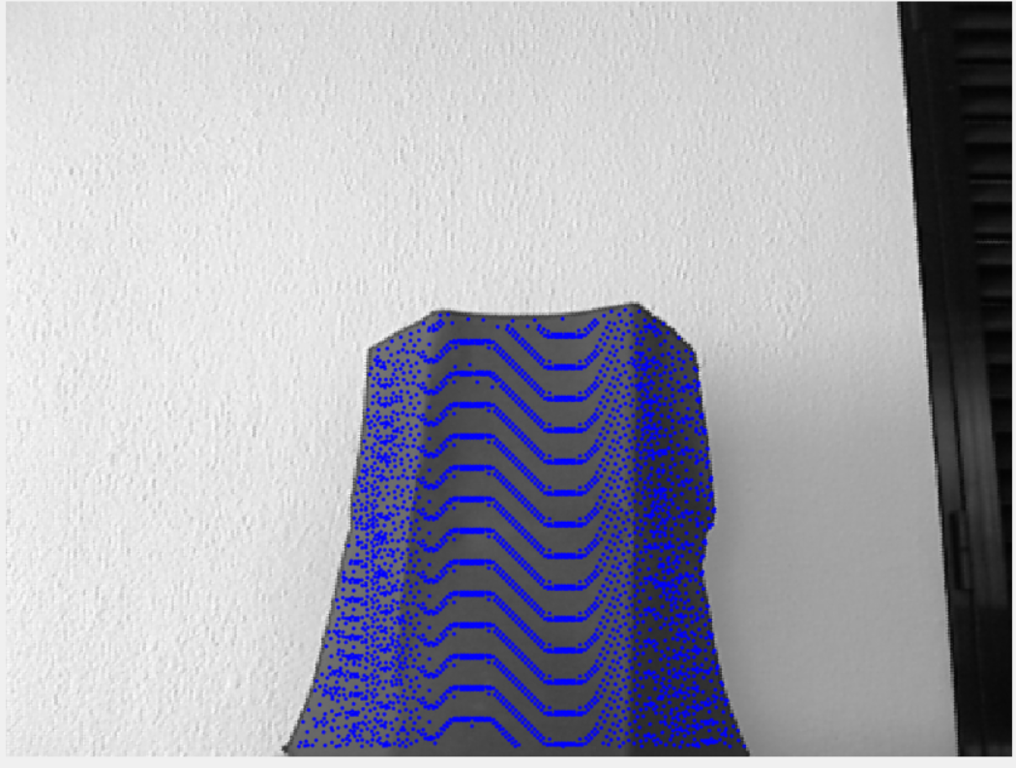
Figure 5 - Result on an object closer to the kinect
Also the drawings for the temporary structure were finished.